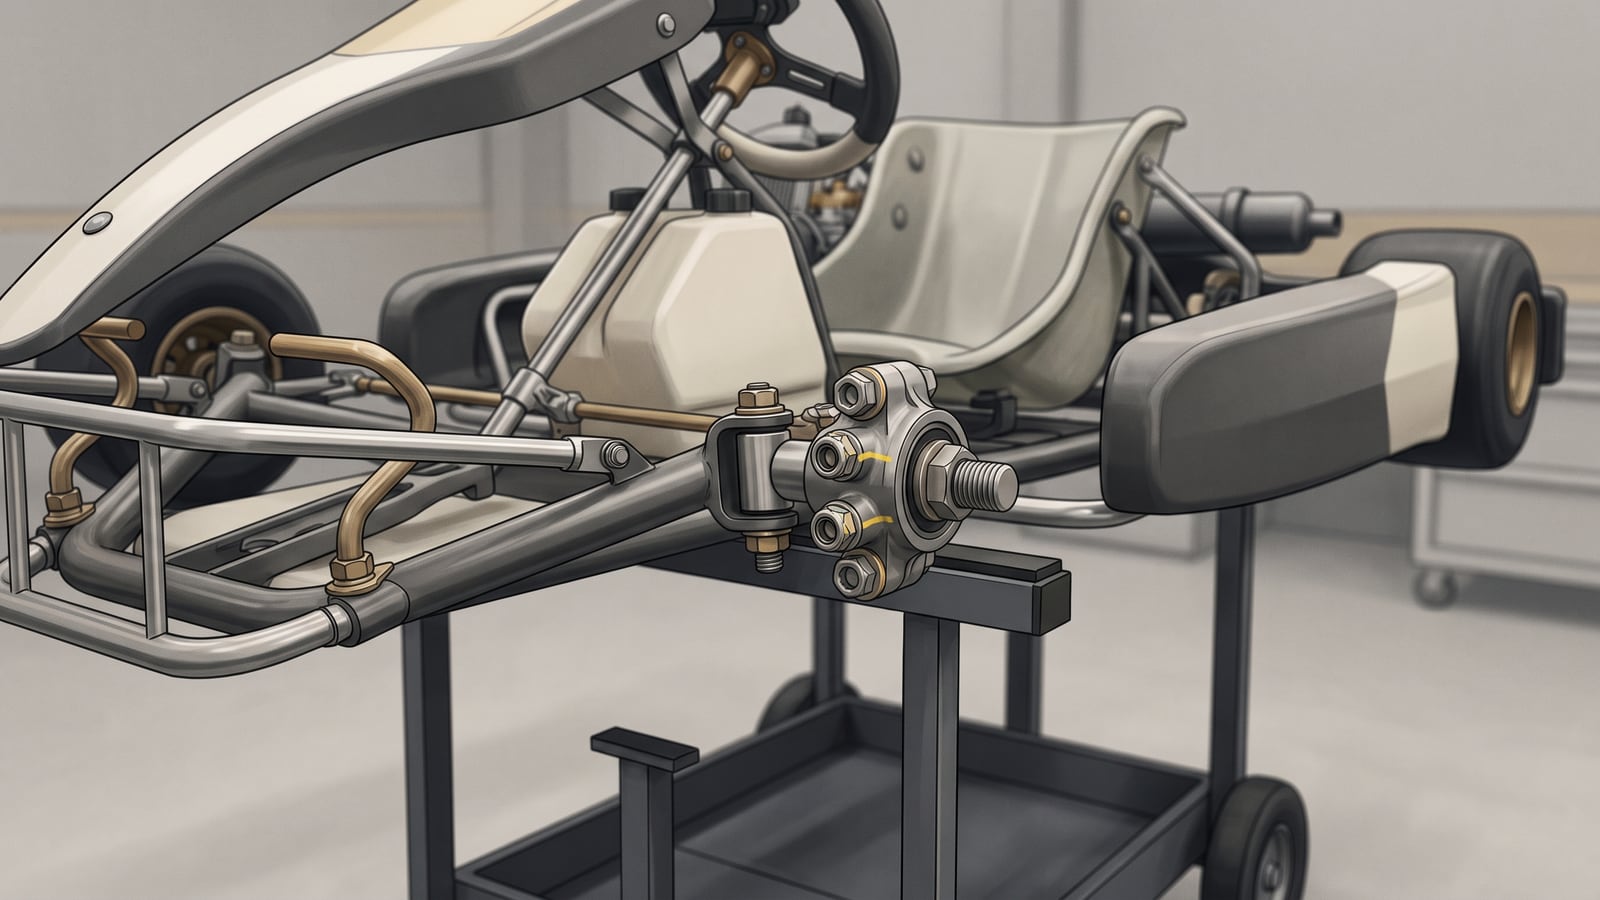
"Tight" is not a diagnosis. Checking fastener security on a kart means answering four separate questions.
Those four questions are: is the part present, what can you observe about its condition and engagement, what torque instruction applies to this exact assembly, and what retention or locking method — the specified means of keeping an assembly secured beyond just applying a torque figure — does the relevant document require. This is a Motorsigma workflow for organizing a check: four separate questions, not a single test of whether a nut or bolt feels tight. It's not an engineering standard or an acceptance test, and working through it does not by itself establish safety or compliance. It tells you what you know and what you still need to find out.
What follows is a checklist you can run through fastener by fastener, and a template for building a record specific to your own kart, engine, and chassis. There's no kart-wide torque chart here, because one honest instruction doesn't transfer to a fastener that merely looks similar.
The four-part checklist
Work through these four questions in order, for one fastener or assembly at a time. Each step is a separate check — don't let a confident answer to one question stand in for the others.
Presence
Start by naming exactly what you're looking at: the specific fastener or assembly. Then confirm the parts that should be there are there.
CRG's own pre-track guidance for the karts covered by its manual names several components as items to check before running the kart. It lists steering parts, pedals, and wheels, along with the chain, spoilers, and fairings. That's useful as an example of how one manufacturer organizes a presence check for its own products, but it isn't a checklist you can lift and apply to a different kart. Build your own presence check from your kart's own documentation.
Observed condition and engagement
Next, record only what you can see:
- Does the fastener look seated?
- Is a nut fully threaded?
- Is there visible damage, corrosion, or a stripped edge?
- Does the assembly look complete?
That's an observation, not a judgment about whether the part is good enough to run. There's no universal rule here for how many threads should show, how much wear is acceptable, or when a component needs replacing. If what you see doesn't match what you'd expect, or you can't tell, mark it unresolved when uncertain rather than guessing at an answer, and follow the product-specific instruction for that exact part when one exists. Uncertainty is a valid, useful result of this step.
Specified torque
Now find the instruction that applies: the torque figure or procedure written for this exact assembly, on this product version, for the chassis you have. Record it as written, with its source.
Rotax's installation instructions for the named Rotax MAX evo engines are a useful illustration of why this matters. That edition 03/2021 document is explicit that its instructions can differ depending on the chassis the engine is fitted to, and it points the installer to the chassis manufacturer's information as an additional, separate source — not a substitute. The same manual assigns different instructions to different named assemblies within the same engine. That's why this article won't hand you a chart: the manual assigns different instructions to different named assemblies, and any figure printed here would invite the kind of transfer that mismatch makes risky.
Specified retention
Finally, check whether the applicable product or event document specifies a retention or locking method — safety wire, a locknut, a double nut, or something else — for this assembly.
The 2026 WKA dirt self-tech form is a dated, event-scoped example worth knowing about if you race under it: it assigns particular checklist items to specific retention arrangements, rather than stating one rule that covers every fastener on the kart. That structure is worth noticing even if you never see this exact form — it shows that retention requirements attach to specific items, not to the kart as a whole, and it's a reason to confirm the current event and class documents rather than assume last season's arrangement still applies.
Unresolved item
Every checklist needs a place for "I don't know yet," and this one should end with one:
- Unresolved item: ______________________
- What's missing or uncertain: ______________________
- Who to ask: ______________________
If a part is broken or missing, if what you observed doesn't resolve into a clear answer, or if you can't establish the applicable torque or retention instruction, stop before track use. CRG's manual is specific that karts covered by it shouldn't go on track with broken or missing parts — that instruction is scoped to CRG karts covered by the manual, and if you're working on something else, the equivalent instruction, if one exists, comes from your kart's current manufacturer.
For anything you can't resolve, the people who can help split by role: the current manufacturer for a product instruction, the chassis or component maker if a separate document applies, and the applicable governing body, organizer, series, class, or event authority for a rule that governs where you're running. Where in-person judgment is what's needed, that means competent in-person help rather than a guess from the record. And only replace a part when the applicable product instruction calls for it — this checklist doesn't hand you a general rule for replacing hardware on karts it wasn't written for.
Two gaps, one stop
Here's how the three rules above work together on a single kart. Say a rear axle bearing carrier bolt is missing its locking hardware, and a witness mark near it looks shifted from where you last checked it. That's two separate gaps, not one: no retention instruction found yet for this exact bolt, and an unresolved witness mark. Either gap alone is enough to invoke the stop-before-track-use rule; together, they clearly do. You log the retention gap for the chassis manufacturer, since supplying that instruction for this exact bolt is theirs to do. You log the mark itself as unresolved, not as evidence of anything, until the fastener is re-checked using the documented method. And before you do anything else with either gap, you confirm you're holding the chassis manufacturer's current document, not a superseded one from an earlier season.
Copy the check sheet
Run this compact sheet per fastener or assembly — it mirrors the four questions above, plus a place to record what's still open and what happens next.
FASTENER CHECK SHEET

Exact assembly:
Presence (present / missing / not applicable):
Observed condition and engagement:
Applicable torque instruction (with source document and edition):
Applicable retention or locking method (with source document and edition):
Witness-mark observation (intact / broken or shifted / not marked / not applicable):
Unresolved item and who to ask:
Disposition (cleared to run / stop before track use / unresolved):
Fill it out the same way you worked through the four questions: record only what you've actually confirmed, and leave anything else blank rather than guessing.
Build the record
A one-time check is only as useful as what you write down. This isn't a manufacturer's form — it's Motorsigma's recommended way to keep track of what you've established for your own kart, and where the gaps still are.
| Component or location | Exact fastener or assembly | Kart / chassis / engine / component version | Source document and edition | Applicable torque instruction | Applicable retention or locking method | Governing scope | Date checked | Unresolved question and who to ask |
|---|---|---|---|---|---|---|---|---|
Governing scope records which kart, class, event, or season a document's requirement applies to: whose rule this particular row is following.
The version and document-edition columns matter because product instructions and event requirements can change between seasons or after an announced revision. Rotax's own manual reserves the right to make changes, which is a reason to record which edition you used rather than assume it stays the same forever. That's not a claim that anything actually has changed.
A blank value stays blank
Say you're checking the engine mount on your own kart. You write down the exact engine — a named Rotax MAX evo engine, by model — and the chassis it's bolted to. You note the source documents: the engine manufacturer's installation instructions, edition 03/2021, and the chassis manufacturer's own information, which the engine manual points you toward for this exact assembly. So far, so good — you've identified what you're checking and where the answer should come from.
But you haven't found the torque figure or the retention method in either document yet. So you leave those two columns blank, write "torque and retention not yet located in either document" in the unresolved column, and note that the next step is to check the chassis manufacturer's current documentation, or ask them directly if it isn't there. That's a complete, honest row. A row with a borrowed number in it, copied from a similar-looking bolt somewhere else on the kart, would look more finished and be worth less.
A second row, fully resolved
Here's a compact, wholly invented second example, showing what a fully resolved row looks like once every column has an answer — including a governing scope and a date checked, which the engine-mount example above didn't reach yet:
| Component or location | Exact fastener or assembly | Kart / chassis / engine / component version | Source document and edition | Applicable torque instruction | Applicable retention or locking method | Governing scope | Date checked | Unresolved question and who to ask |
|---|---|---|---|---|---|---|---|---|
| Example front axle bearing carrier (invented) | Example M8 carrier bolt, ×4 (invented) | Example Chassis Model X, chassis serial EX-1234 (invented) | Example Chassis Manufacturer Maintenance Bulletin, edition 2026-03 (invented; not a real document) | per Example Chassis Manufacturer Maintenance Bulletin §4.2 (invented reference; figure not reproduced) | Nylon-insert locknut specified in Example Chassis Manufacturer Maintenance Bulletin §4.3 (invented reference) | Example Regional Karting Series, Cadet class, 2026 season (invented; not a real body) | 2026-08-10 (invented) | None — both instructions located and recorded |
None of the names, documents, or references above are real. The torque cell points to where the figure lives in the invented document rather than reproducing a number, for the same reason the rest of this article doesn't print one: a figure copied out of context invites the wrong transfer.
What a witness mark tells you
DYKEM Cross Check's manufacturer describes it as a visual indicator whose mark can break if marked parts loosen or are tampered with.
That's genuinely useful, and it's also all it is: one observation. An intact mark is not confirmation that the torque was correct in the first place, that the engagement is sound, that the fastener's condition is fine, or that the assembly meets the applicable retention or event requirement. Treat it as one entry in the record that supplements the four questions above rather than replacing them.
A broken or shifted mark is also only one observation. It doesn't by itself prove the fastener is loose, was tampered with, or fails any requirement — but it does mean the check on that fastener isn't resolved, and the stop-before-track-use rule from the checklist above applies until it's re-checked using the documented method.
Questions for helpers
If you're a parent, a hobbyist helping a friend, or a mechanic picking up someone else's kart mid-weekend, you don't need to make the technical call yourself. A short set of questions gets you most of the way to knowing whether the check is complete:
- Which exact assembly is this — name the specific fastener or part?
- Which current product document controls it, and what edition?
- Does this document's covered revision or version match the kart's own exact revision or version?
- Does the chassis document add anything the engine or component manual doesn't cover?
- Does the current class or event require a particular retention method for this item?
- Who is going to assess anything unresolved, in person?
Asking these doesn't require technical expertise. It keeps the record honest and points the unresolved parts toward someone who can answer them.
Check the current documents
Everything above depends on using current documents, and that's worth doing as one pass rather than rechecking by hand at every step. Pull the current manufacturer instructions for the kart, chassis, and engine you're working on. Then check whatever governing body, organizer, series, class, and event rules apply to where you're running. A kart built two seasons ago may be sitting under documentation that's since been revised.
The WKA example above is worth flagging again here, because it's the one place in this article where a rule is scoped to a particular event type: it describes what's required at WKA-sanctioned 2026 dirt events using the inspected form, tied to particular checklist items rather than the kart as a whole, and it's not a stand-in for what a different series or a different season requires. That distinction matters most if you switch sanctions, or move into a later season of the same one, when the current event and class documents may say something different from this example.
Where to go next
This check belongs in the kart maintenance hub, alongside the routines that bracket it on either side of a session. Before you run, what to inspect before every run covers the minutes before you go out; afterward, what to inspect once you're back in the paddock covers the debrief. If you want to see how a fastener check fits the bigger picture, how often each maintenance task recurs across a season lays that out. For the wider discipline, start at karting.
Your next step: choose one fastener assembly on your kart and enter its exact product, source document, and document edition in the blank record; if any of those are unknown, mark the entry unresolved.