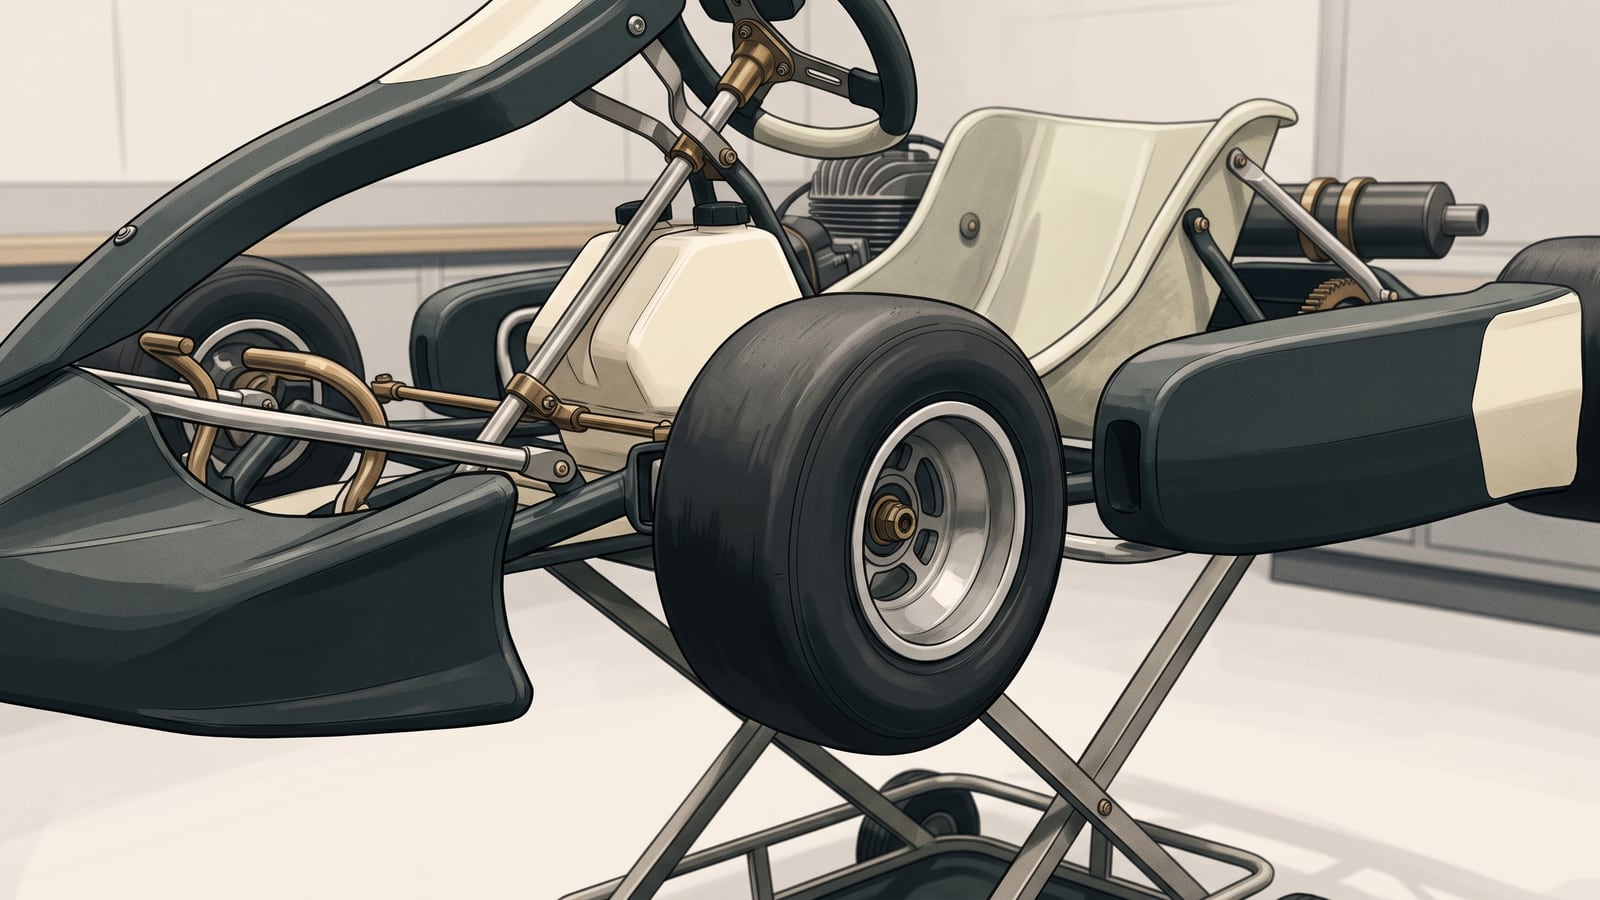
Someone in the paddock hands you a pressure figure, stated with enough confidence to sound authoritative. But whose tyre was that number for? Which compound, which track, which day? Was it measured before the tyre had turned a wheel, or well into a session when the rubber was warm? Copy a figure without knowing the answers to those questions and you're not really copying a setting. You're guessing with borrowed confidence.
There's a better way to land on a pressure that means something for your kart. Start by knowing exactly which tyre and version you're running, then confirm whether the number you're chasing was measured cold or hot. From there, log a baseline, change one thing at a time, and compare only sessions that are close enough to compare fairly. Do that consistently and you'll build your own reader-specific working range — a set of pressures that make sense for your tyre, your gauge, and your conditions. It isn't an optimum, and it isn't something you can hand to another driver on a different tyre and expect it to work.
From here: the terms you need, a short protocol, a compact log for your phone or a clipboard, and two hypothetical examples that show a usable comparison next to one that isn't.
Why a copied number falls short
A few terms are worth pinning down first, because "pressure" alone doesn't tell you much.
Cold pressure means a reading taken before the tyre has run that session. What counts as "before" depends on how you define your test, so write down when and how you took the reading rather than assuming some fixed waiting period.
Hot pressure is a reading taken after running — sometimes defined by the maker, sometimes just recorded by you. MG, for instance, labels its published figures as hot readings, but nothing in the available guidance sets one shared timing convention for "hot" across tyre makers. If you don't know which state a number refers to, don't guess. Treat it as unusable until you can confirm it.
Measurement state is the documented point and conditions a reading was taken under — cold or hot, before or after a run, in what weather. Without it, a number is just a number.
Working range is your own range of pressures for a specific product and set of conditions, built from your log under similar-enough sessions. It's provisional and specific to your tyre and your track day.
This guide won't tell you how many sessions that takes. There's no fixed threshold of confirmation set here — no number of comparisons that flips a range from provisional to settled. Treat any working range you build as provisional, and keep updating it every session rather than waiting for some checkbox to say you've logged enough.
Put together, this is the core idea: a pressure figure only means something when it's tied to the exact tyre and version it came from, the maker-stated cold or hot condition it was measured in, and the fact that the right number depends on product and conditions rather than sitting still across tyres, tracks, or weather. The inspected sources don't support one pressure that suits every tyre, a predictable shift from cold to hot readings across different products, or a handling diagnosis or performance curve this guide can hand you. What you can build is a method.
When to stop before you test
Before you touch a gauge, pull the current instructions for the exact tyre, wheel, and gauge you're using. Manufacturers update their guidance, and whatever you remember from last season might not be current anymore.
Then look the kart over. If any of these is true, stop testing — don't try to reason your way past it:
- Mounting looks questionable — the tyre isn't seated evenly on the rim.
- There's a leak, however slow.
- The valve looks damaged, loose, or is leaking around its base.
- The tyre shows visible damage: cuts, bulges, embedded debris, or unusual wear.
- You're not sure what pressure limit the maker allows for this tyre and wheel combination.
- Something about the wheel itself looks wrong — cracked, bent, or loose on the hub.
If any of those apply, don't keep testing. Take the tyre, wheel, or mounting question to the tyre maker or a qualified tyre fitter. This guide can help you record pressures — it can't diagnose a mounting problem, tell you whether a tyre is safe to keep running, or walk you through a repair, and it won't pretend to.
Run one controlled comparison
What follows is a Motorsigma editorial protocol — our own consistency checklist, not a manufacturer procedure, a governing-body rule, or a method with a demonstrated performance record behind it. It's intended to make comparisons more consistent, nothing more. Follow it and you get a clearer picture of what one pressure change does to your log — not proof that a given pressure is correct, and not a shortcut to some validated optimum.
- Know exactly which tyre and version you're on, and pull its current instructions. A manufacturer's pressure guidance belongs to a specific product. What's right for it depends on the compound, the track's grip level, the weather, how the tyre was mounted, and how it's being used. A figure from a different tyre — even one that looks similar — doesn't transfer.
- Confirm whether the number you're working from was measured cold or hot. If the source doesn't say, don't guess — treat it as unusable until you can confirm the maker-stated condition.
- Pick one gauge, and use it for the whole comparison. Follow the gauge maker's instructions and note the gauge's identity in your log. That's a consistency move — keeping the same instrument removes one more variable from a comparison that already has plenty to control.
- Record a baseline session. Capture:
- all four tyre-position readings, with the time and state you took them
- track and weather observations
- any other setup changes you made
- driver feedback and anything you noticed about tyre condition
- Make one bounded pressure change. Hold every other setup variable you'd normally touch as steady as you practically can. This step is about cutting down what could be confounding your result — it isn't a formula proven to find a better setting.
- Record the next session the same way, then classify the comparison. If the measurement state was unclear at any point, several setup variables moved, conditions shifted meaningfully, or a safety concern came up, call the comparison inconclusive. In the log below, record that as limited; reserve stopped for a tyre-condition concern that stops testing, and usable for a comparison that holds up against all of the checks above.
What counts as "close enough to compare" isn't a number this guide will hand you — no sufficient kart-specific threshold for temperature, moisture, or grip is established here. What you can do is check the same handful of things each time: did the air or track temperature feel meaningfully different, not just close? Did precipitation or standing moisture appear or disappear between sessions? Did the grip level change enough that you or another driver noticed it unprompted? If any of those shifted meaningfully, treat the comparison as inconclusive rather than talking yourself into "close enough."
One thing this protocol won't do: tell you that a pressure change fixes understeer, shifts the front-to-rear balance, cuts lap time, or extends tyre life. None of those outcomes are supported here — a change that "feels" better on one day, under one set of conditions, isn't evidence of a repeatable pattern.
The pressure log
Here's the log. Keep it on your phone or print it out — either works, as long as you fill in every field you can and mark the rest "unknown" instead of leaving it blank or guessing.
| Field | Reader entry |
|---|---|
| Date; venue or track | |
| Session/run identifier | |
| Tyre maker, model, compound/version, and other visible identification | |
| Current manufacturer instruction consulted (document, date), and its cold/hot convention and any stated limits | |
| Applicable event or class rule consulted, and the gauge it says governs, if any | |
| Gauge identifier | |
| Cold measurement time/state | |
| Cold pressure: LF / RF / LR / RR | |
| Hot measurement time/state | |
| Hot pressure: LF / RF / LR / RR | |
| Track and weather observations | |
| The single intended pressure change | |
| Other setup changes or unexpected differences | |
| Driver feedback | |
| Tyre, valve, leakage, or wheel observations | |
| Comparison usable, limited, or stopped — and why |
That last row's three labels track the rest of this guide: usable is a comparison that holds up against the protocol's checks; limited is one you'd call inconclusive there — an unclear measurement state, more than one setup variable moving, or conditions shifting meaningfully; stopped is one closed by a tyre-condition concern, not graded at all.
Two habits make this log worth keeping. Change one intended thing at a time — if you can't name the single deliberate difference between two sessions, the comparison isn't bounded anymore. And when you don't know something, write "unknown," not "0" or a blank to fill in from memory later. A missing entry tells you less than a wrong one, but a false zero is worse than either.
If the tyre-condition row shows a mounting, leakage, valve, tyre, or wheel concern, that's your stop signal. Don't try to work around it in the log — refer it to the tyre maker or a qualified tyre fitter and treat that session's comparison as closed until it's resolved.
What the log can tell you
Two hypothetical situations show what this buys you: an honest read on whether a comparison holds up.
A bounded comparison
Picture an owner-driver running the same tyre and the same gauge across two sessions at the same track. Both times, they take cold readings at the same point before running, and hot readings at the same point after — same four positions, same timing. Between the two sessions, the only thing they deliberately change is the one pressure input they set out to test. Track conditions stay close enough to compare, and nothing else in the setup moves on purpose.
That log supports a bounded comparison. The driver can reasonably say pressure was the only setup input they deliberately changed between these two sessions, under closely matched conditions, on this specific tyre. That doesn't rule out things they didn't control for — driver execution, small shifts in track condition — but it makes this comparison worth taking seriously within its own bounds. It still proves nothing universal: it doesn't tell the next driver, on a different tyre or a different day, what to run.
A compact version of that session's log might read like this — a wholly invented example, showing only the fields that decide the classification:
| Field | Example entry |
|---|---|
| Tyre, gauge identification | Same tyre and gauge, both sessions (invented) |
| Cold/hot measurement state | Same point, before and after running, both sessions |
| Track and weather observations | Close enough to compare between sessions |
| The single intended pressure change | One documented change, all four positions (invented — not a recommended value) |
| Other setup changes | None |
| Comparison usable, limited, or stopped — and why | Usable — same tyre and gauge, matched measurement timing, one deliberate change, conditions close enough to compare |
An inconclusive comparison
Now picture the same driver a few weeks later. The weather has shifted since the last outing — cooler, with some moisture in the air. The hot reading gets taken at a different point in the session because the driver got called into the pits early. And somewhere along the way, another setup item gets adjusted too, maybe because it seemed like a good idea at the time.
Here, the honest read is inconclusive. Too much moved at once — conditions, measurement timing, and another setup variable — for the driver to say the pressure change caused whatever they noticed. The log hasn't failed. It's done its job by making that uncertainty visible, instead of letting the driver pin a result on pressure alone when three things changed together.
The same fields, filled in for this session — again a wholly invented example:
| Field | Example entry |
|---|---|
| Tyre, gauge identification | Same tyre and gauge, both sessions (invented) |
| Cold measurement state | Same point, before running |
| Hot measurement state | unknown — taken at a different point after an early pit call |
| Track and weather observations | Cooler, with moisture in the air — a meaningful shift from the earlier session |
| Other setup changes | One other setup item changed unintentionally |
| Comparison usable, limited, or stopped — and why | Limited — measurement state unclear, more than one variable moved, conditions shifted meaningfully |
And the third label, for completeness — the same compact fields when a session ends on a tyre-condition concern, again wholly invented:
| Field | Example entry |
|---|---|
| Tyre, gauge identification | Same tyre and gauge as the previous session (invented) |
| Tyre, valve, leakage, or wheel observations | Pressure loss between checks with no change made, cause not identified |
| The single intended pressure change | Not made — testing stopped before the change |
| Comparison usable, limited, or stopped — and why | Stopped — a tyre-condition concern ends the comparison; the tyre goes to someone qualified before any further running, and nothing about this session gets graded |
Building a working range across sessions
One comparison tells you whether two sessions can be compared fairly. A working range comes from looking across several of them together.
Picture the same owner-driver logging five sessions on the same tyre over a few weeks — again, wholly invented, and the sequence works entirely through the log's own classifications, not any pressure figure:
| Session | Comparison usable, limited, or stopped — and why |
|---|---|
| A | Usable — same tyre and gauge, matched measurement timing, one deliberate change, conditions close enough to compare |
| B | Usable — same tyre and gauge, matched measurement timing, one deliberate change, conditions close enough to compare to A |
| C | Limited — measurement state unclear, more than one setup variable moved |
| D | Usable — same tyre and gauge, matched measurement timing, one deliberate change, conditions close enough to compare to A and B |
| E | Stopped — a tyre-condition concern ends the comparison before a reading gets recorded |
To find a working range, the driver doesn't average everything in the log. They set C and E aside — one inconclusive, one closed before it produced a comparable reading — and look only at A, B, and D: three usable sessions, run under conditions close enough to compare to each other, on the same tyre. What those three sessions have in common, not what any single one says on its own, is what's worth writing down: a narrow band around the settings those sessions shared. Write that band down from your own log's figures — nothing here says what it should be.
Even that grouped range isn't a verdict. It stays provisional, tied to this tyre and these conditions, and it moves as more usable sessions get logged under similar conditions — or splits into two separate ranges if a later batch of usable sessions groups around a noticeably different set of conditions instead.
Check the product and rules
A few checks belong late in the process, once you've got a method running and a specific tyre and event in front of you.
Any pressure figure from a manufacturer is tied to that specific tyre, its version, and the maker's stated cold or hot condition — it doesn't carry over to a different compound or product line just because the tyres look alike. Whatever gauge you use, follow that gauge's own instructions and record the gauge identifier in your log. This guide makes no claim about how one gauge compares with another, or about how often any of them need calibrating.
If you're racing under CIK-FIA's 2026 homologation framework, here's a useful identification detail. A homologated tyre carries an embossed CIK mark on at least one sidewall, next to its Prime, Option, or Mini category marking. That confirms what category of tyre you're holding — it doesn't give you an operating pressure, and it doesn't by itself prove you're eligible to run at a given event.
Eligibility and any pressure-related rule are event-specific. They sit with the applicable organizer or governing authority for your exact class, event, and season, under the current event regulations — not with a rule remembered from last year, and not with a mark on a sidewall taken on its own.
Where to go next
This guide sits in the kart setup hub, alongside a worksheet for running a bounded setup test more broadly and a guide on how to compare karting sessions fairly when conditions or setup shift between runs. If an event's tyre rules matter to what you're testing, finding the governing bodies and rulebooks for your event is the place to check them properly. From here, the wider karting section covers everything from getting started to race weekends.
Your next step: identify the exact tyre model and version you're running, then open its current manufacturer instructions and find the stated pressure measurement condition. That's the one thing every later entry in your log depends on.